Today we will be looking into Open Broadcast Software, or OBS for short. This is a versatile tool that many streamers use and has been the basis for many other programs such as Streamlabs. So a lot of these steps are easily transferable.
Why Use OBS?
While there are other programs out there, we use OBS because it is free and has lots of support from the wider community. As such, there are a lot of plug-ins (which we will cover in the near future) which work with OBS to make your streams unique and engaging. You can also use these skills outside of streaming for producing some incredible effects.
What are Scenes?
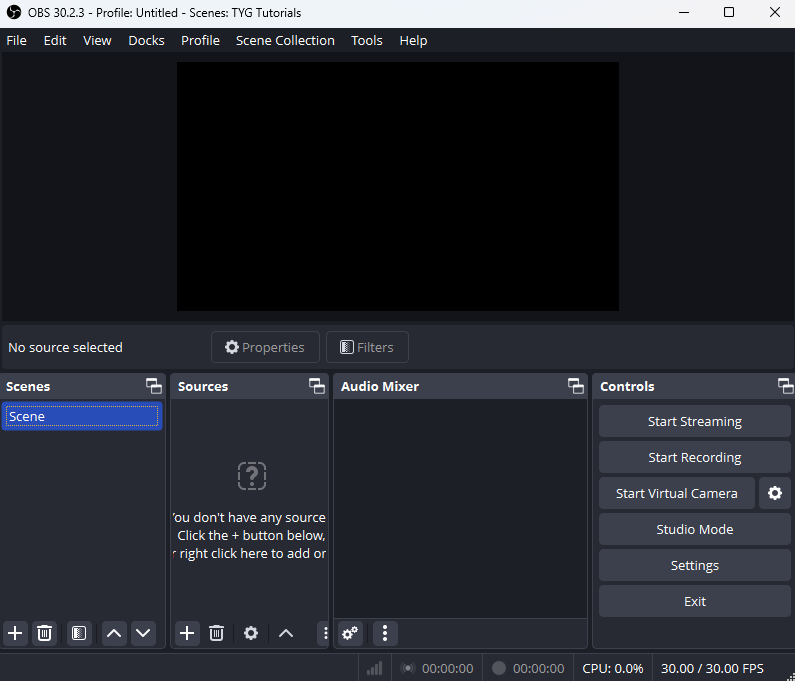
Scenes are how OBS separates your different “stages” so you can switch between them while streaming as if switching to a different camera across the studio. These will usually include a few staple scenes such as the “Starting Soon” or break scene, a chatting scene and a gaming scene.
Create a new Scene
Creating a new scene is super simple. Just go to the scene panel in the bottom of your OBS window and click the “+” icon. This will give you a pop-up where you can insert the name of your scene.
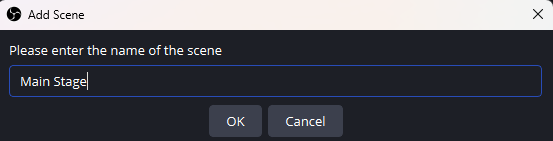
You will now have an empty scene with a blank stage. So, let’s start filling it.
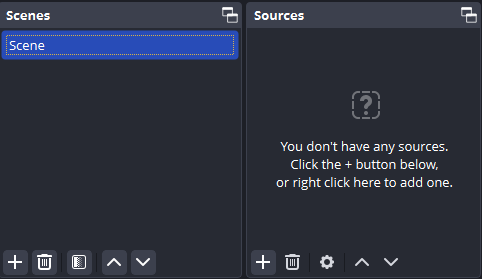
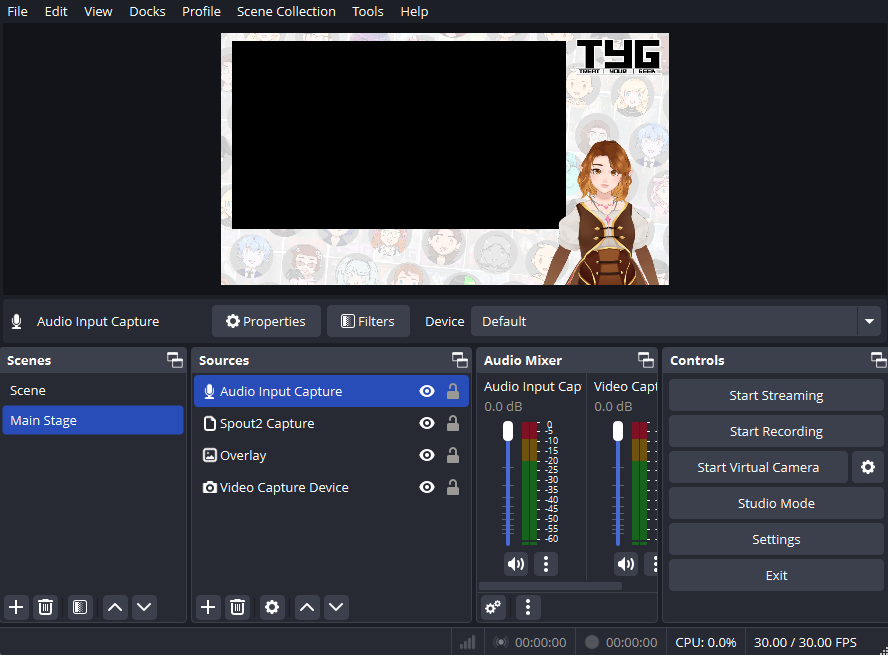
Decorate Your Stage With Sources
Assets imported to your OBS Scenes are called “Sources“. These range from webcams and microphones to overlays and capture cards. Anything that is active in your current scene will be displayed here in the Sources panel.
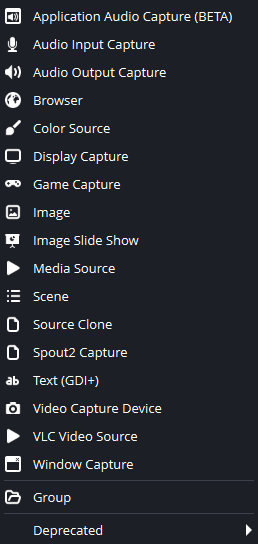
To add a source click the “+” in the bottom corner and select the type of source you require. You can also drag and drop certain media types, but you will have to pull up the properties yourself to edit them.
Basic Sources To Get You Started
Every streamer has a different set up, but the skills are all easily transferable. Once you have the basics down, you can begin to experiment – and that’s where the fun begins!
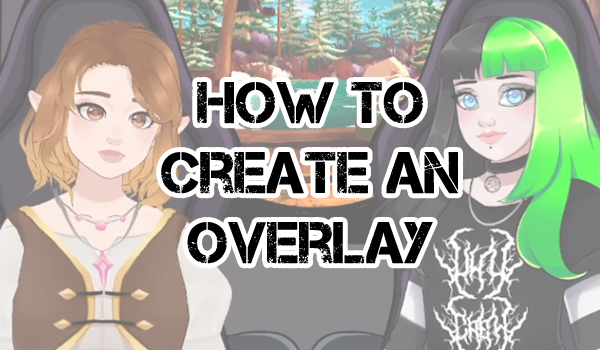
An Overlay
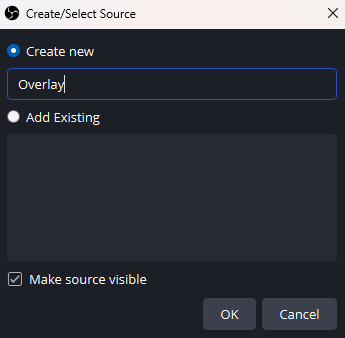
A static overlay would be added as an image. So navigate your way to the + icon and find the “image” option. From there add the name of your image source and click “okay“.
In the next pop-up you will be given directory options to find the image file you require. Click “okay” and it will be added to your stage.
Note: Gifs and animated overlays would be considered “media files” not images.
Find out more about overlays in our tutorial.

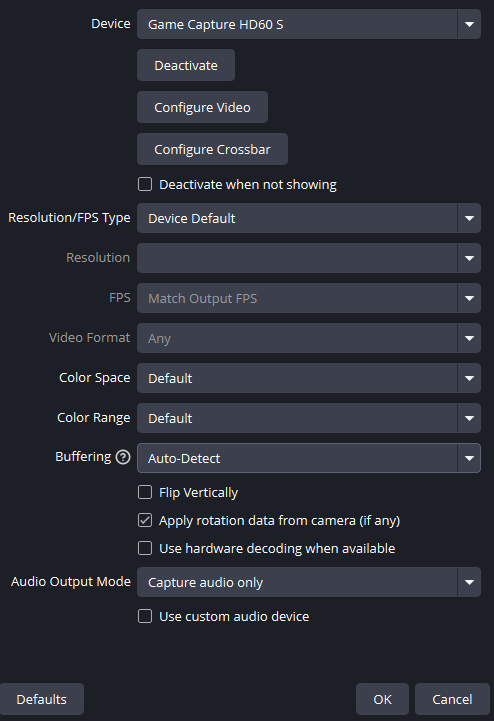
A Webcam or Capture Device
Webcams and capture devices come under “Video Capture Device” in the “+” menu. This source type offers a lot more options than an image, but can be largely left on default unless you experience any issues.
I would suggest clicking “deactivate when inactive” and “use hardware decoding when available” just to save yourself some processing power in the future.
An Avatar
There are different ways to import your avatars into OBS. We use the SPOUT2 option which is super easy to install, and you can find our full tutorial on that here.
A Mic
OBS will often add your desktop and mic audio as standard. However, this will put them both on all of your scenes, which isn’t always what you want. If you want to add a mic to a specific scene, mute or remove these and use the “+” tab to add an “Audio Input Capture” and navigate the options to add in your main mic.
Is That It?
Honestly, yeah. Pretty much, at least. What you should have after adding your capture devices and overlays is a scene that is ready to stream.
Related Tutorials:
If you would like us to make tutorials on anything else, feel free to drop us a comment and we will be sure to do our best.