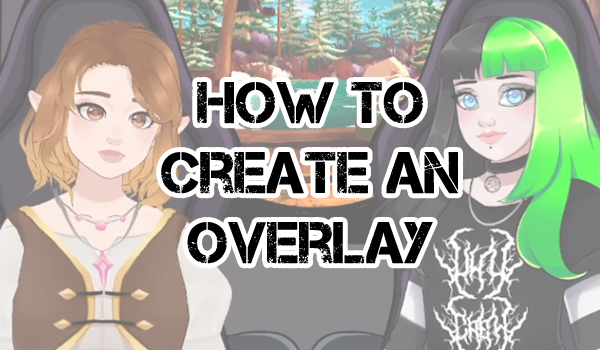
Today we are going to be looking at some simple ways to make overlays for recording and streaming.
Although you can use lots of different methods and programs to create your overlays, I will be using Clip Studio Paint (CSP). I also recommend GIMP and Krita as free alternatives.
Overlay Vs Underlay
What even is an overlay anyway? For those of you new to content creation it may all seem confusing, but simply put, it is an image that goes over your other assets to make everything look neat and tidy. A common example of this would be to box off gameplay and webcams on stream.
Conversely, underlays would go at the very bottom of your stream and tend to be simpler to allow for more things to go on top of them. Where overlays require some planning and bring scenes together, underlays give you more freedom to throw what you need on the screen when you need it. However, having additional layers in your broadcasting software can be more power intensive and more prone to accidental shifting.
While there’s merit to using both methods, we’re going to be looking at overlays today.
Creating An Overlay From Scratch
Step 1: Create Your Canvas
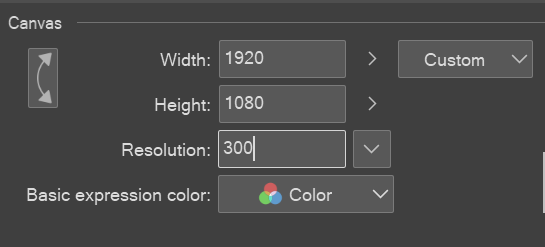
I tend to stick to 1920×1080 pixels with a 300 DPI Resolution as most people don’t stream in 4k.
Step 2: Define Your Cut Outs
There are several ways to define the shapes you want for your overlays. For exact measurements such as gameplay, I generally import an image of the size I want for a shape and work around that. Remember to hold down the Shift Key to keep your dimensions/aspect ratio on PC.
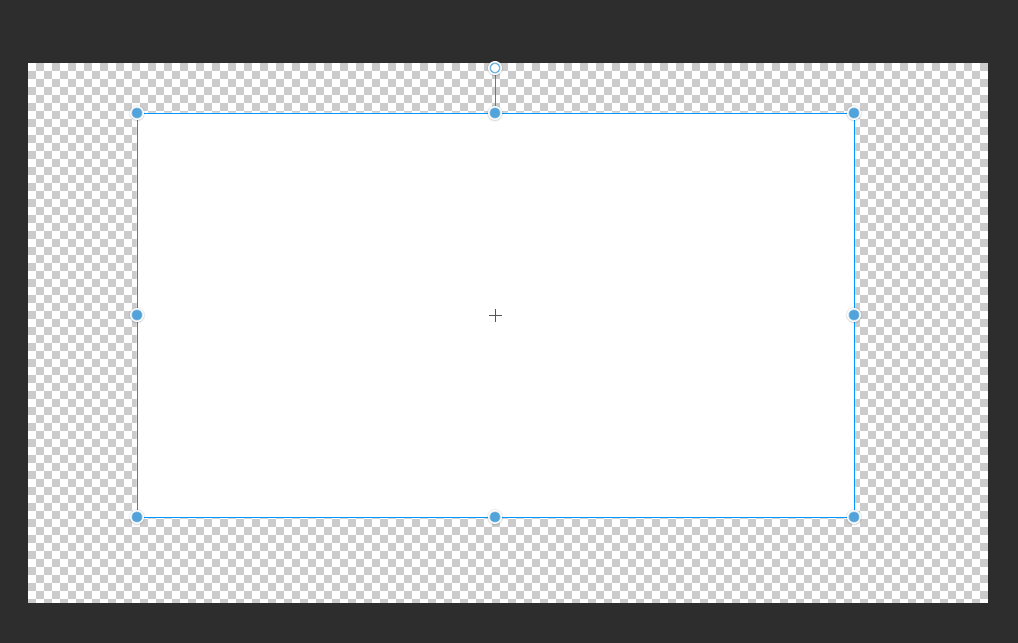
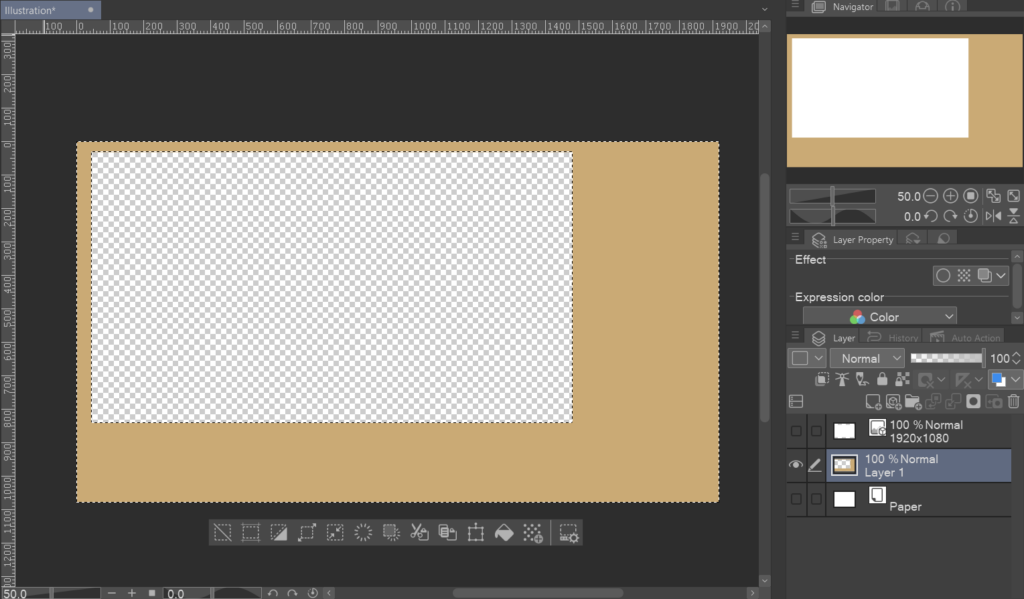
Then I select the area outside of this box with the “Magic Wand” tool and use the “Paint Bucket” to fill the selected area on a new layer. You should now have an image with a hole that will perfectly fit the shape that you want. This method will work for any shape or size so you can get creative.
Step 3: Using Clipping Masks To Decorate
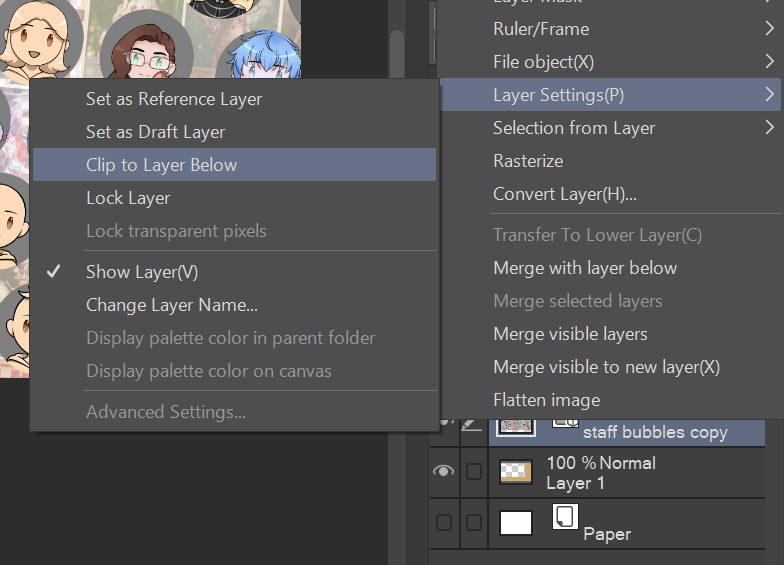
You can clip any image to a shape on a different layer to easily decorate your overlay without having to replicate the previous steps with a new image each time. In Clip Studio Paint (CSP), this tab can be easily accessed by right-clicking the image you want to clip and navigating to the “Clip to Layer Below” option.
Step 4. Tidy Up
What we have now works, but we can always do better. So let’s see what else we can do for this overlay.
Firstly, the polka-dot avatar image is a bit busy and we want to add more stuff to the image and put VTubers over the top. By reducing the opacity of the “staff bubbles” layer we can make it a little less obnoxious.
I’ve left the layer on normal here but try playing with different layer settings and base colours to see what you can achieve.
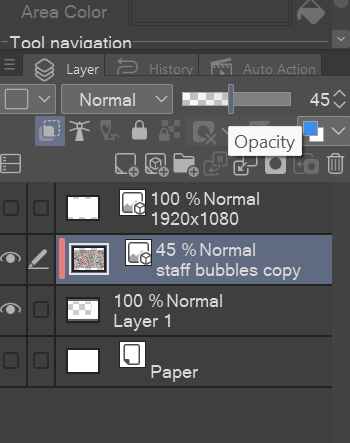
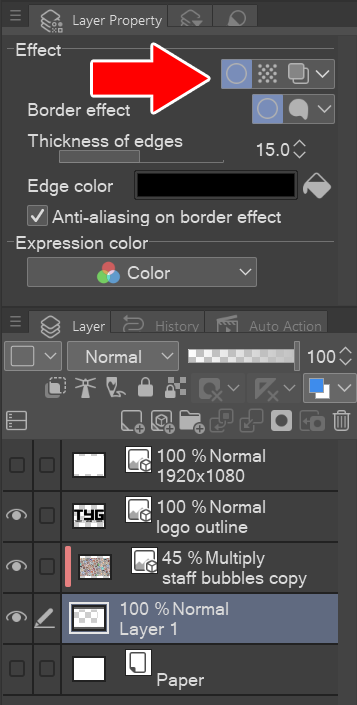
We can then put a border around the layer using the “Layer Property” settings in CSP. Other programs put this with the blending options or layer settings. Note: you might have to change your image layer to multiply to stop it showing on the border in CSP.
I also pulled in the TYG logo from my collection of assets and stuck it on there, since I’m always going to want that where it is.
We now have a basic overlay, that is ready for stream.
You can use this exact same method to place the gameplay screen anywhere in your scene.
Export your image as a PNG file and you are good to go.
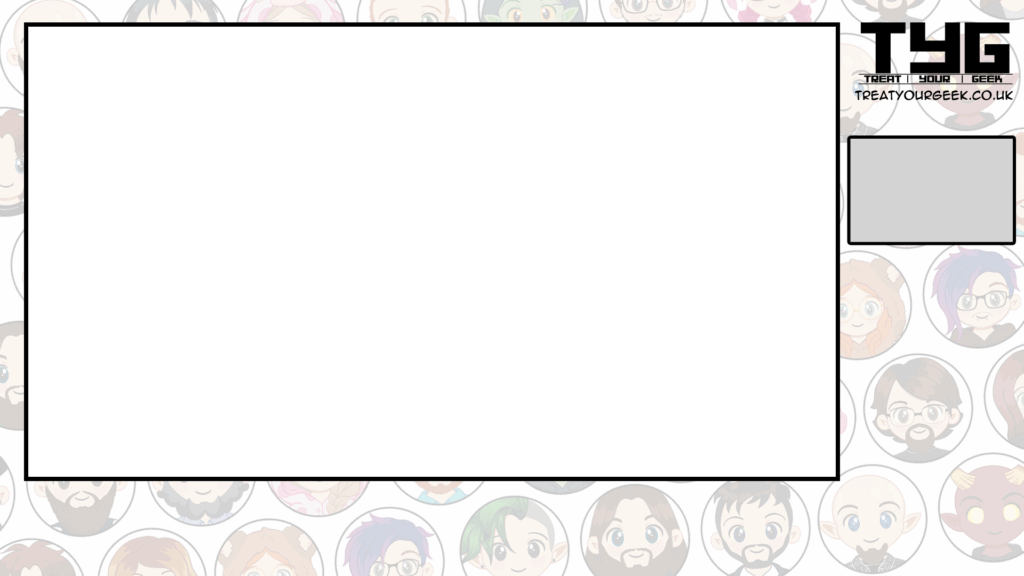
Step 5: Move To Broadcasting Software
Now we have our overlay ready, it’s time to test it out in OBS or whatever program you prefer.
In OBS you will need to add a new image source and bring in your overlay. Then add your game capture and resize it to your desired shape. OBS will also allow you to drag and drop media files into the source tab (most of the time).
Step 6: Get Creative!
Now you know the basics, it’s time to get creative. You can add multiple overlays to a scene to hide and highlight whatever you wish.
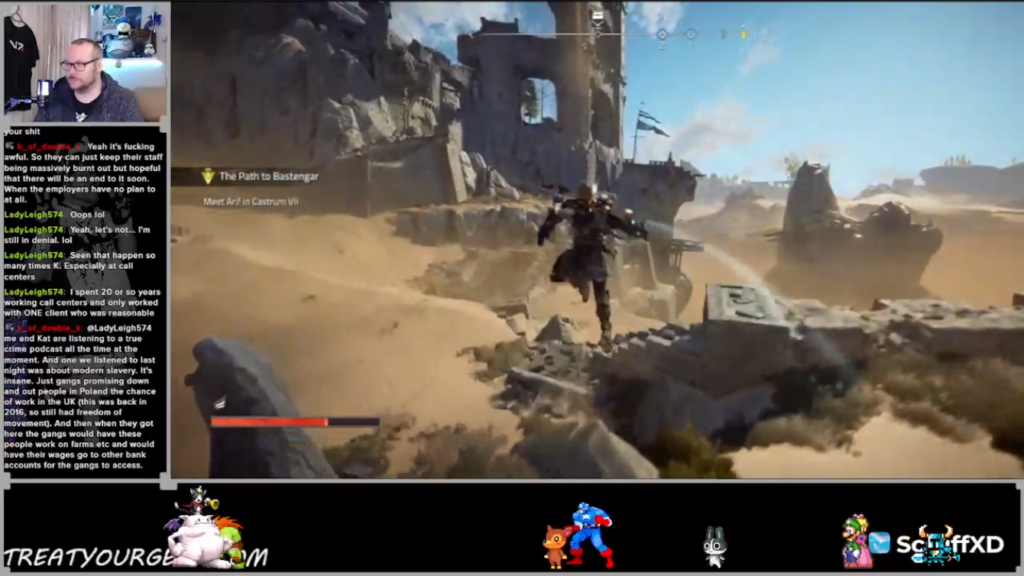
In the examples below, both Scruff and Mash have StreamAvatars on a top layer of their OBS. Scruff has a single overlay around his gameplay footage, whereas Mash has used a PNG to create a “dashboard” overlay to box it in which also covers the bottom of the VTubers to keep it all looking tidy.
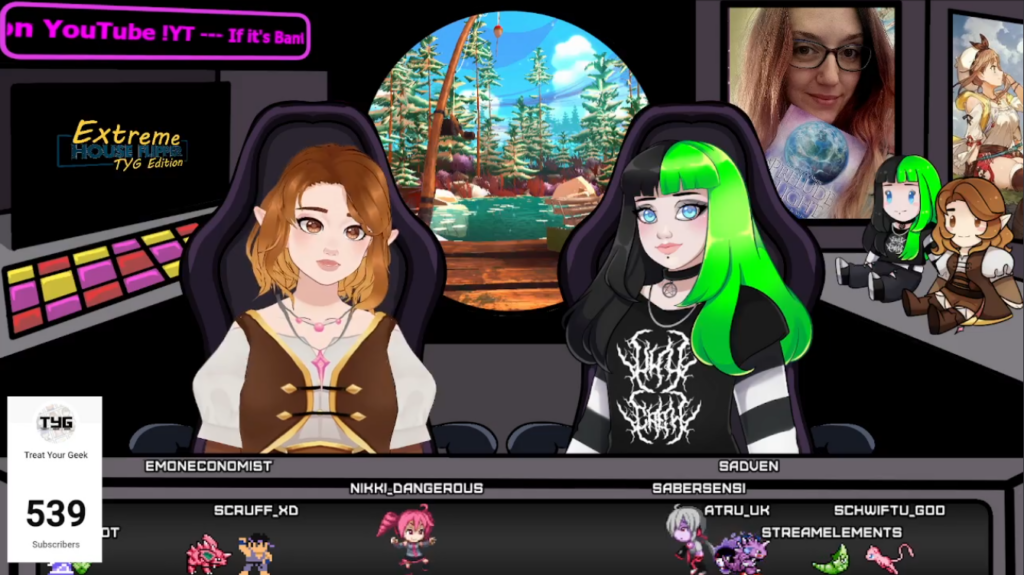
Although it looks complicated, Mashashy’s cockpit overlay only consists of the rear ship interior overlay, two chairs and the dashboard. Everything else, the slide shows, scrolling text and avatars, are then layered between the overlays in OBS to give the desired effect.
Conclusion
Overlays don’t have to be complicated to be effective. Start off small and experiment as you build your stream. Knowing what you want or need is half the battle. Just remember to have fun with it.
We look forward to seeing what you create!

