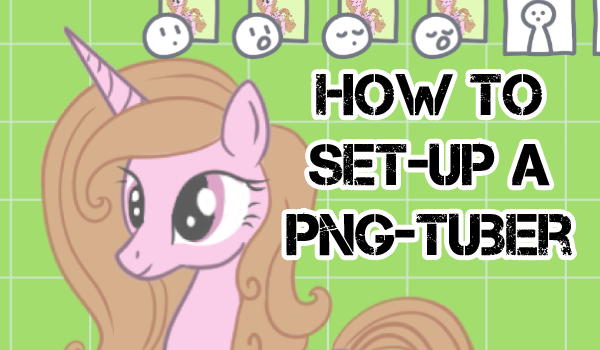
Today we will be taking a look into make a PNG-Tuber and using Veadotube Mini to get them into OBS and other broadcasting software using the SPOUT2 plug-in.
There are many reasons streamers would rather stay off camera, and there are many upsides to doing this, but you may still want a visual representation of yourself on the screen. Creating an avatar for yourself not only creates a character for your audience to connect with, but also gives you a design to build your branding on.
Why choose a PNG-Tuber?
A PNG-Tuber is a simple but versatile tool for content creators. Compared to 3D and 2D avatar programs, PNG programs are a lot less labour intensive and offer a cheaper alternative to commissioning an avatar.
Since PNG-Tubers are static, they don’t require a camera for tracking. They only use your mic to trigger the program and make it look like your avatar is talking.
Creating Your Avatar
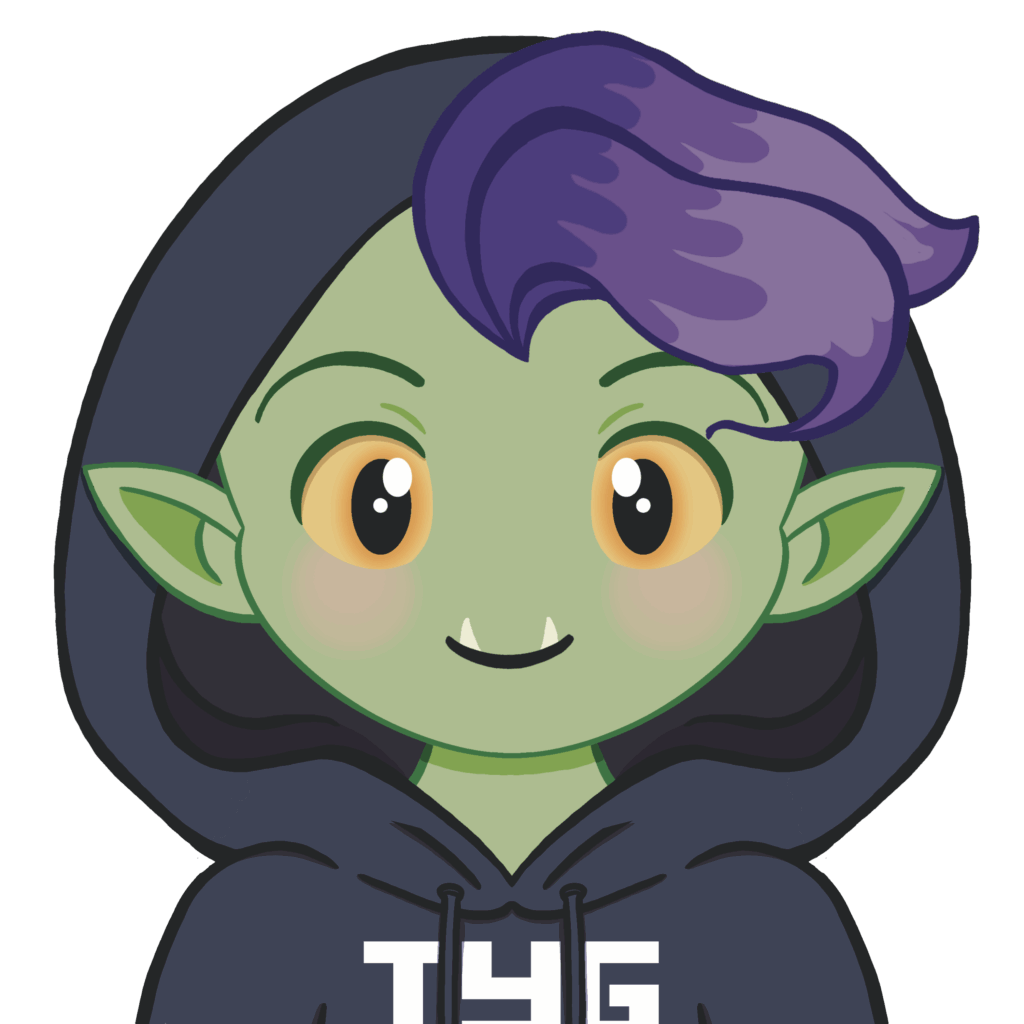
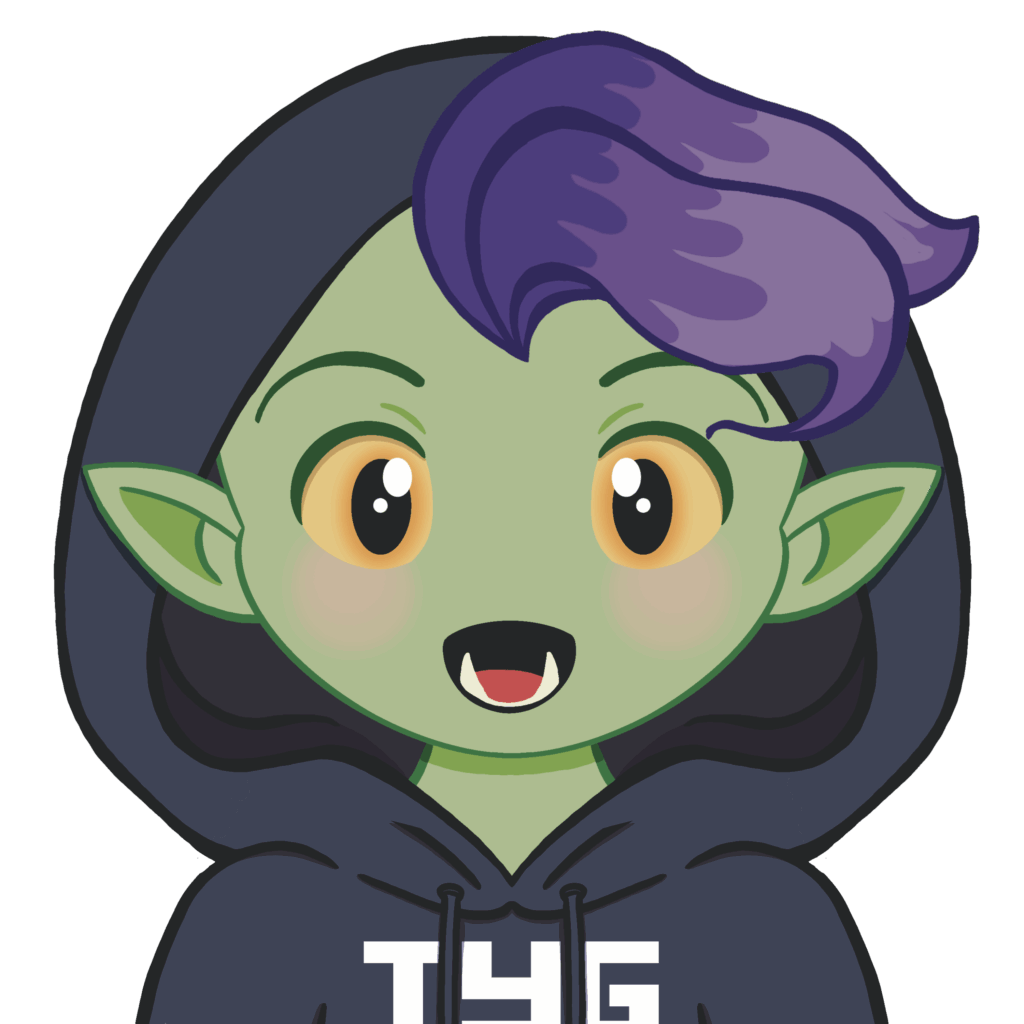
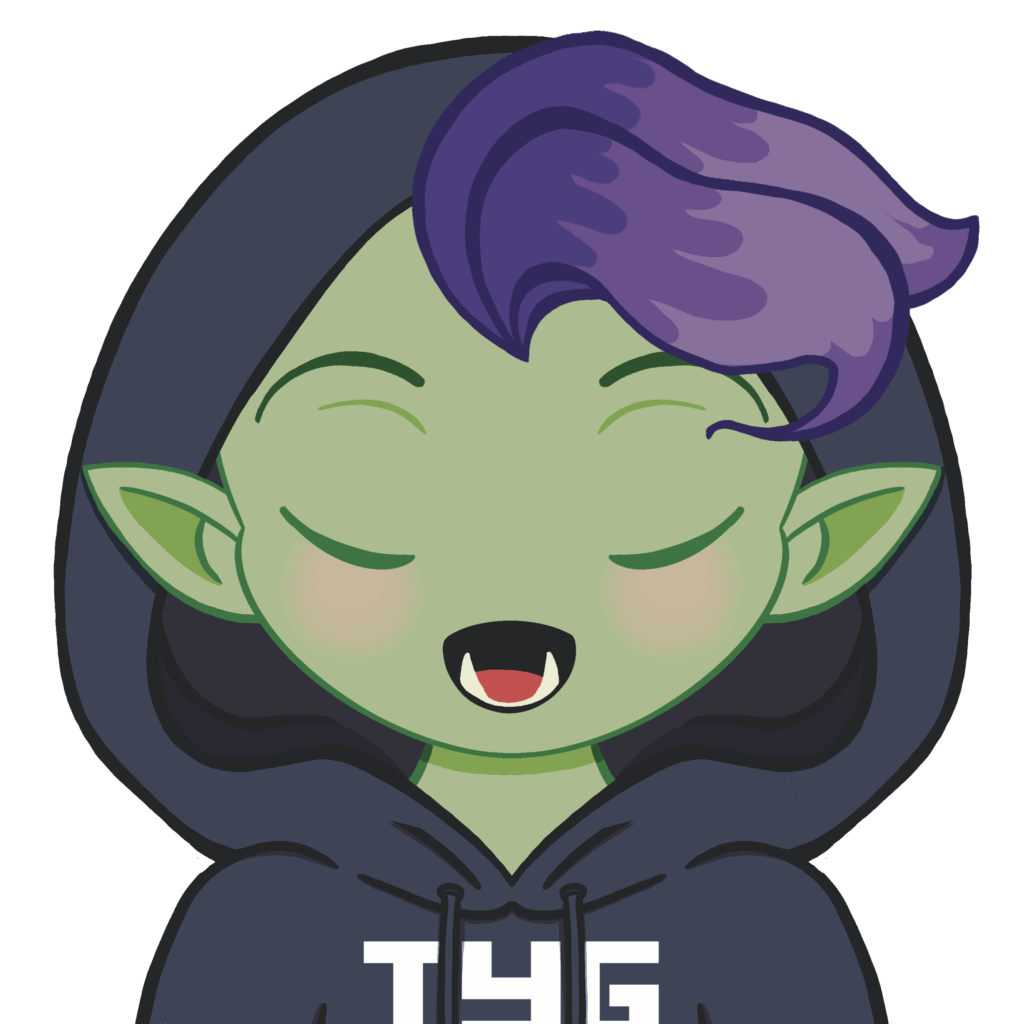
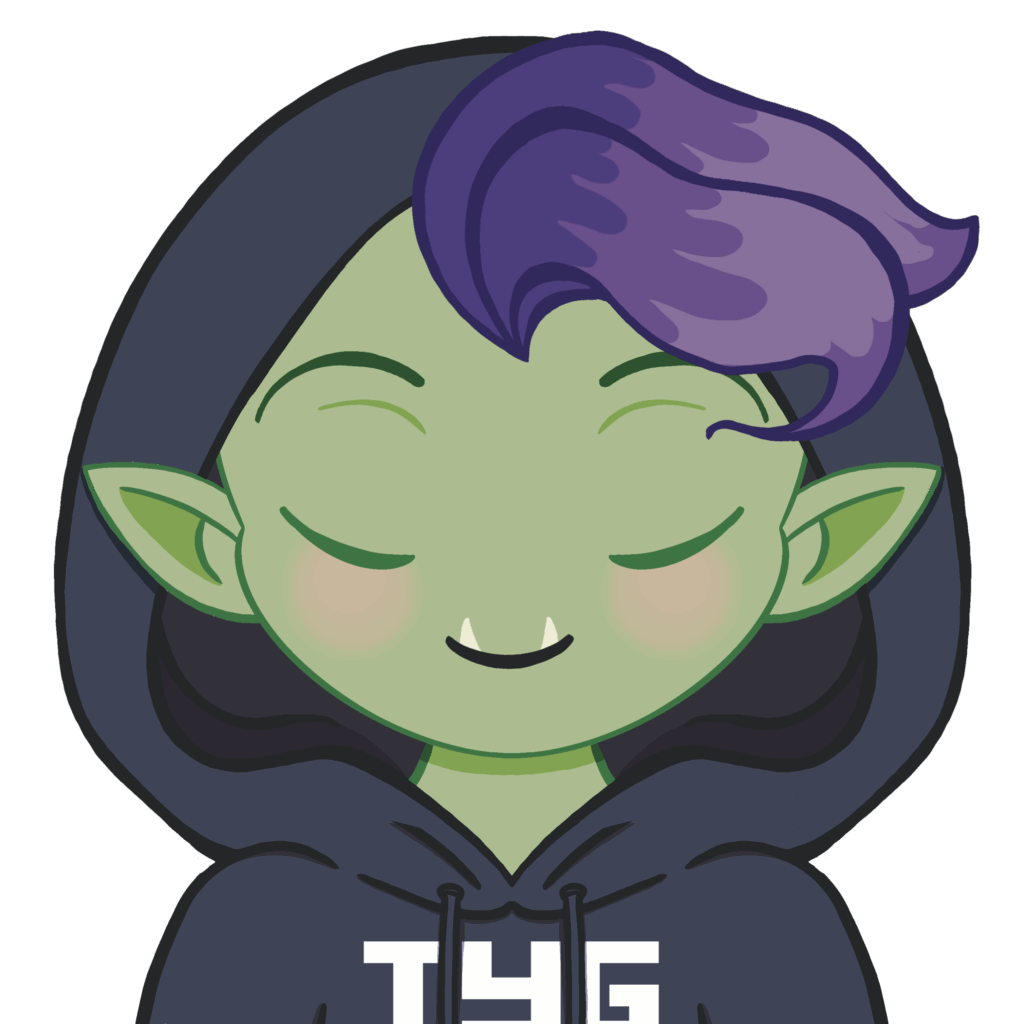
PNG-Tubers are generally made from four images. These images are made from the same base but with the following features;
- open-eyes, open-mouth
- open-eyes, closed-mouth
- closed-eyes, open-mouth
- closed-eyes, closed-mouth
The example below was created by Cosy_Witch and is used by our Goblin Recruits.
As long as your base shape remains the same and your features in the same place, you are able to create avatars in any shape or style. So, don’t be afraid to experiment.
Setting up Veadotube Mini
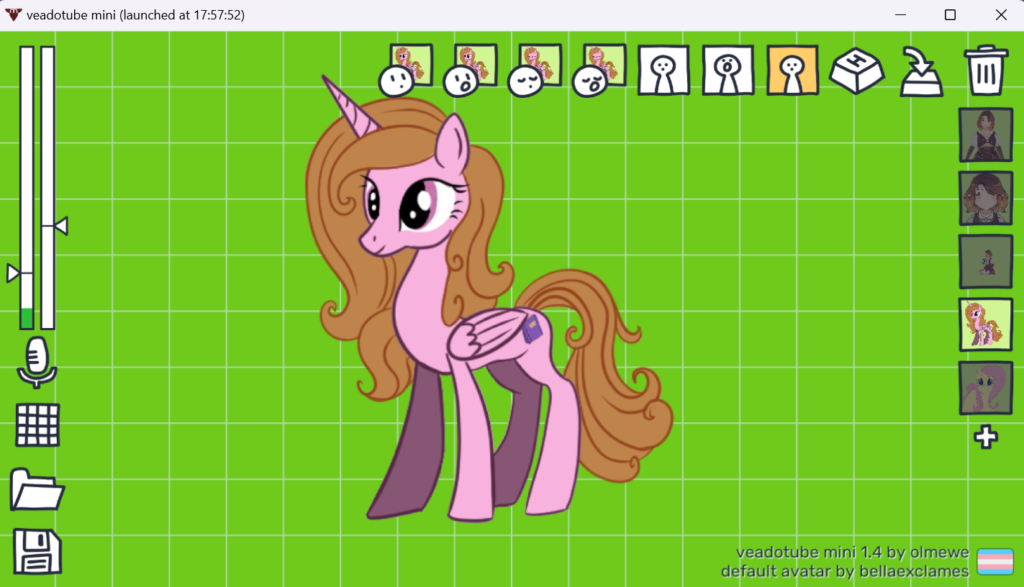
Although there are lots of different programs available, the one we’ll be looking at is Veadotube Mini, for Windows in OBS. Many of these steps do transfer over to other systems and we will try to cover them in the future.
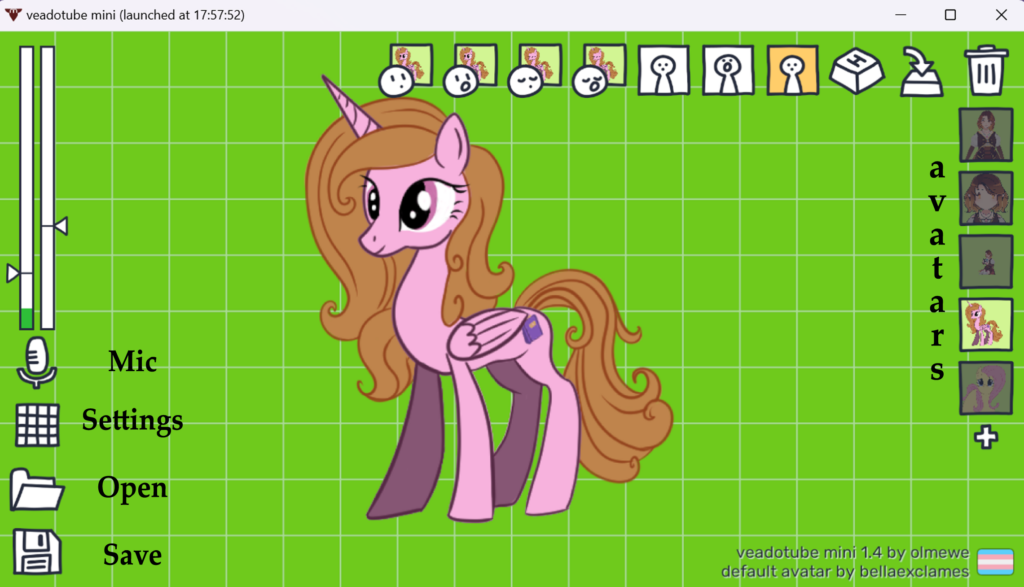
Step 1: Import Avatar
The buttons in the top bar will open your file explorer. Navigate to the corresponding images and your avatar should appear on the screen.
Step 2: Adjust settings
The three icons beside this change the animation settings of your avatar. They increase the range and speed of movement triggered by your voice.
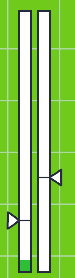
The bar along the left-hand side of the screen shows your mic volume and the sensitivity of the sensors. Dropping these will trigger animations at a lower volume.
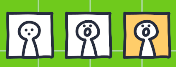
Step 3: Other Settings
There are a few other buttons to be aware of. You can set hotkeys using the “H-Key” button and turn them on with the button beside it.
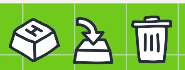
The others are fairly self explanatory with obvious icons for Mic, Open and Save. The Settings menu is a grid for some reason but there’s some handy options in there if you’re looking to change the background colour or active SPOUT.
You can also have multiple avatars, which are shown on the right of the screen

Connecting to OBS
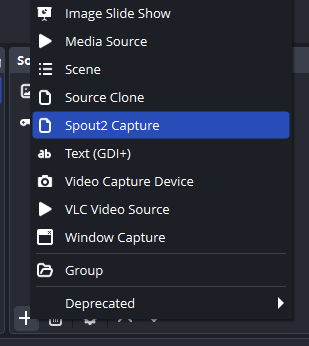
Step 1: Install SPOUT2 Plug-in
SPOUT2 is a plug-in for OBS which will bring your avatar programs into your broadcasting screen without the interface showing. This allows you to edit without interrupting stream.
Install it and activate “Spout Stream” in Veadeotube Mini.

Step 2: Capture In OBS
Once installed, the Spout2 plug-in should show up in OBS in the “Add Sources” menu from the + button. Rename it if you wish, and add it to your sources.
NOTE: If you are unable to change output or stream settings at any time, try going into the tool settings and stopping Spout2 capture as it sometimes clashes.
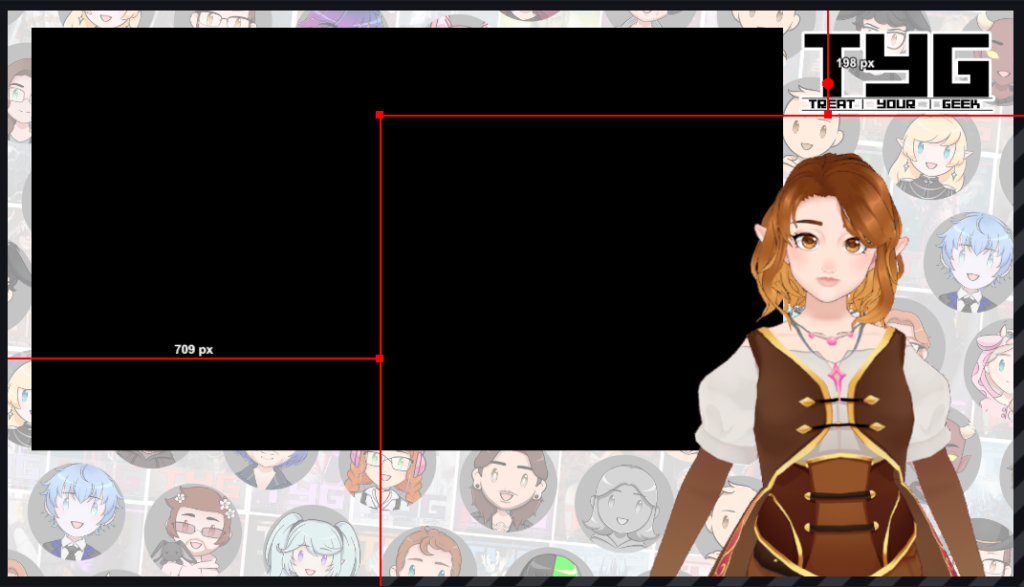
Step 3: Check Settings

Now we need to set our capture to remove the background. Make sure you have “SpoutSenders” set to your PNG-Tuber program and change the “Composite mode” to “Converted Premultiplied Alpha“. You should now have a PNG-Tuber with a transparent background on your broadcasting scene.
Step 4: Place your avatar
The final step is an easy one. Place your avatar where you want them in the scene and you are good to go!
Congratulations! You are now ready to stream and record with your new PNGtuber!
Related Articles