The OBS Move Plug-In is a powerful too that can be activated by simply making a filter visible in your OBS software. You can link this filter state to other triggers such as Streamer.bot and Stream Decks to do some really cool stuff. But, let’s start off with some basics.
Install The Plug-In
The Move Plug-In requires some installation. First download the installer, unzip the file, and active the installer. This should add the move comment to the list of filters that you can add to your scenes and sources.
You can find more information and support the developers here:
https://obsproject.com/forum/resources/move.913
https://github.com/exeldro/obs-move-transition
Add The Move Filter To Scene
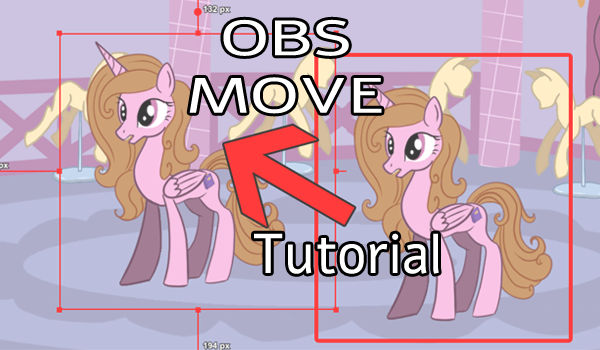
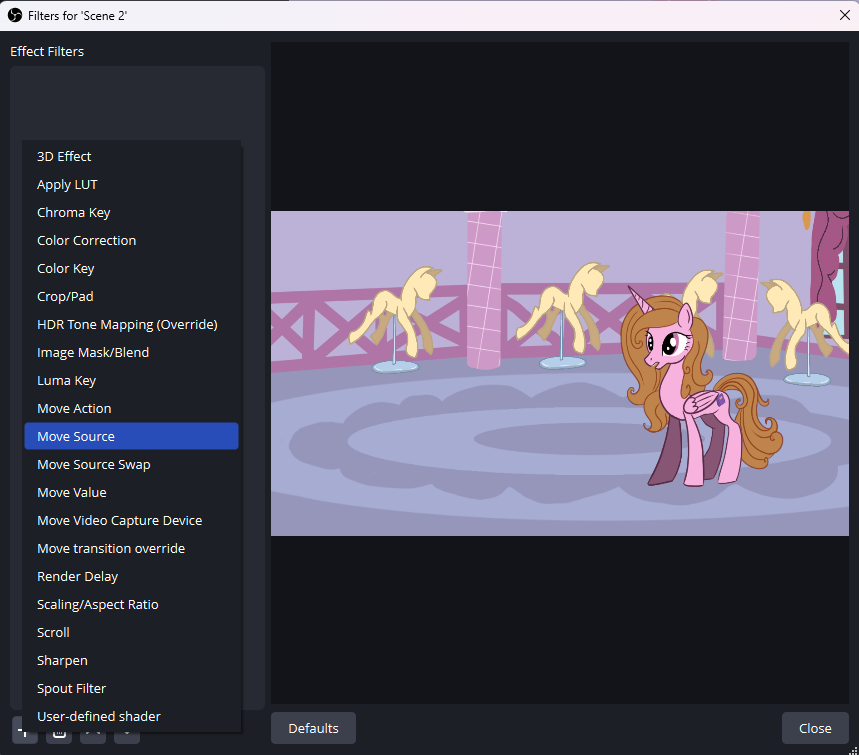
There are a few ways to use this tool but the easiest way is to add the “Move Source” filter to the scene with the source you wish to move.
Why do we put the filter on the scene and not the source?
Because the movement is relative to the camera, which always covers our stage area. We are telling the source where we want it to appear on our stage.
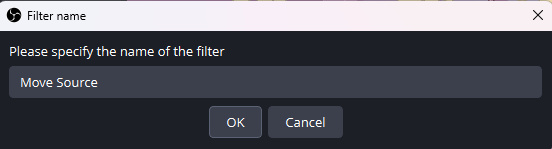
Navigate your way to your scene filters and add the filter name as you desire.
Tip – There are multiple ways of doing this including right-clicking your scene or clicking the filter button under your OBS scene
Basic Move Action
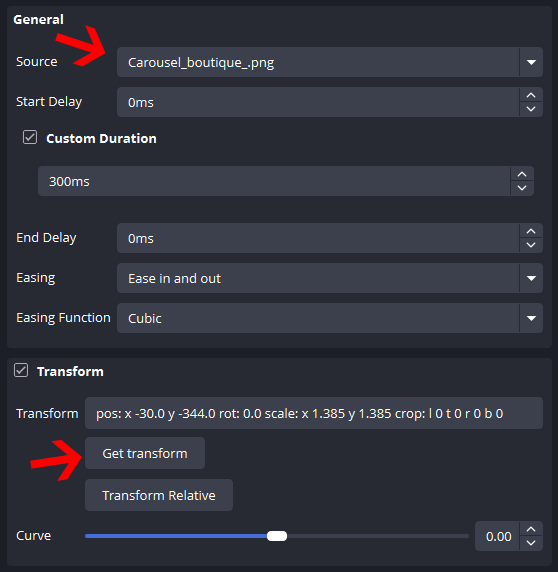
Firstly, make sure you have the correct source selected in the General/Source tab of your filter settings.
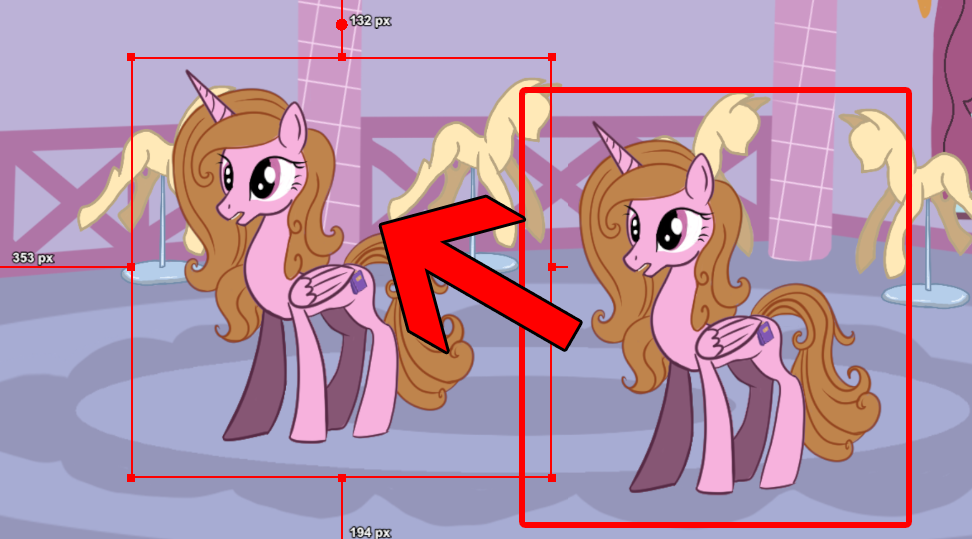
Then, move your source to where you want the source to move too and click “Get Transform” from the Transform tab.
This will save the size and location of your source where it is. Now you can move your source any where on your screen and activate that filter to make it move back again.
Tip – You may want to make several filters including a “Reset” function with your source saved where you started
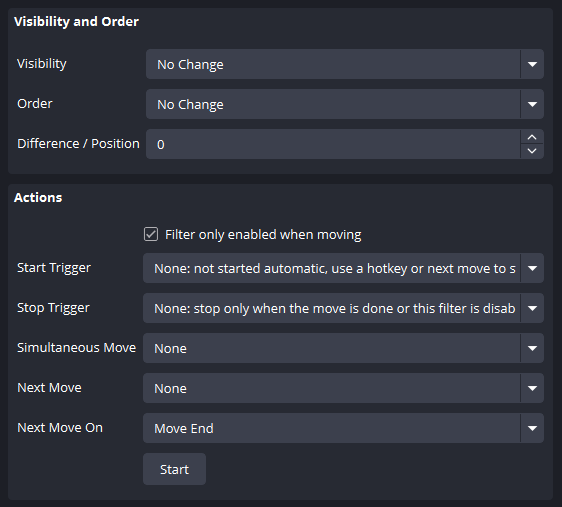
Advanced Settings
Having mastered the basic move function, you can start playing with the duration and easing to get your timing right. However. the true champion of the move filter is the Actions tab.
With these settings you can automatically set another action to trigger once this one has been completed.
Say, for example, you wanted to make an image move across your screen, but stop in the middle and go straight up instead. Then all you need to do is set up your horizontal movement to move onto the vertical movement with the “Next Move” function.
You can have a lot of fun with these functions and we encourage you to experiment and see what you can do!
Other Tutorials