
OBS browser sources are used for a plethora of things. From sound alerts and pop-ups, they are used to bring all kinds of things into your streaming software. But how do you set them up?
Add An OBS Browser Source:
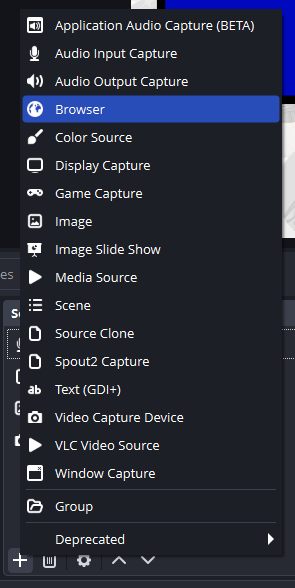
In the scenes dock of OBS, you can right-click to bring up a menu, or click the “+” button at the bottom of the dock.
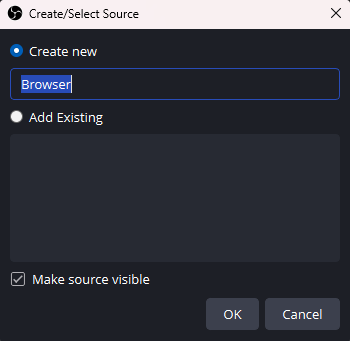
Navigate your way to the “Browser” option to add it as a source. This will bring up a new pop-up to name your browser source.
Set Up Your Source:
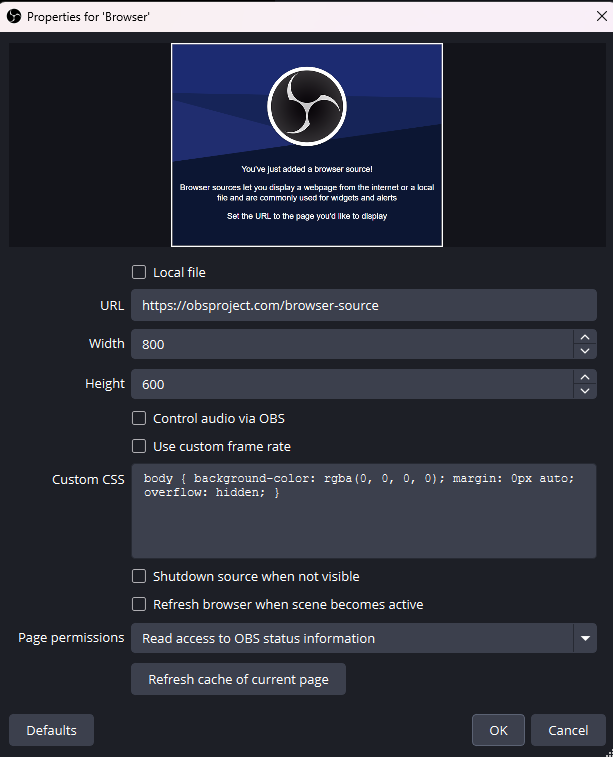
There are a few settings in the “Properties” menu for a browser source but let’s just highlight the important ones for now.
URL: This is where you paste the url for the thing you want to feature in OBS.
Control Audio Via OBS: You generally want to tick this for any sources with audio so that you can manage them while live from OBS.
Shutdown source when not visible: this is a good way to save processing speed. Generally this is for browser sources only on one scene.
Refresh browser when scene becomes active: This uses some processing power but not enough to cause issues. It simply refreshes your source in OBS to make sure it is up to date.
Combine Your Knowledge:
If you’ve been following our tutorials, then you will already have a good idea of different ways to use browser sources, but here are some bonus things to consider.
- You can add filters to browser sources
- You can control a browser source using Streamer.bot
- You can group and organise browser sources
- You can put a browser source in a nested scene.
Want More Tutorials?
Looking to level up your content creation more? Check out our other tutorials now.