Today’s tutorial is a super useful way to reduce the stress on your computer while using OBS.
- What Are Nested Scenes?
- Why Use OBS Nested Scenes?
- How To Set Up OBS Nested Scenes
- Other Uses
- Other OBS Tutorials
What Are Nested Scenes?
Nested scenes are scenes within scenes in OBS. You can use these scenes to do a whole host of things but the basic purpose is to show one scene in another.
Why Use OBS Nested Scenes?
There are surely other reasons to use nested scenes but here’s the big ones.
- Reduces CPU usage
- Makes Editing Media Assets Easier
- Tidies Up OBS Scene
When you’re running a lot of pop-ups and stream set ups, it makes sense to have your repeating assets in this one scene so you can share them over multiple scenes at once without adding to your processing requirements. It also saves you from accidentally moving assets in the nested scenes while playing around with others.
How To Set Up OBS Nested Scenes
We use nested scenes mainly for media files and pop-ups, but there are other utilities outside of this. If you want to know about OBS Scenes, you can check out our tutorial.
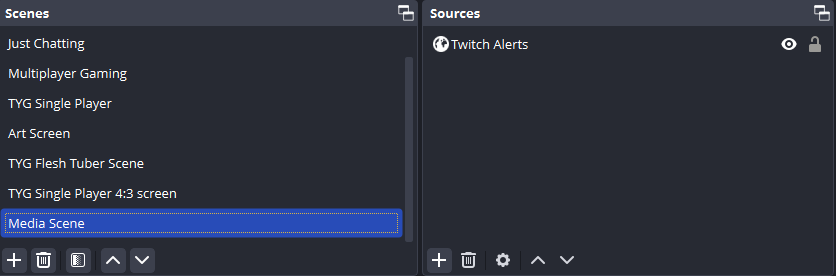
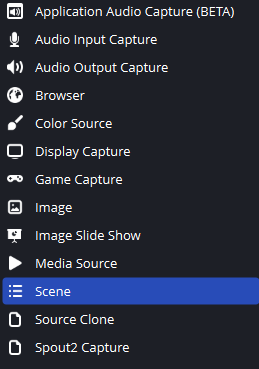
Create A New Scene – Add a new scene to OBS using the “+” button and call it what your want. For this example we will be calling it “Media Scene” because that’s how we’re going to use it.
Add Files – Now you can add your media files to the scene which you want replicated over multiple scenes.
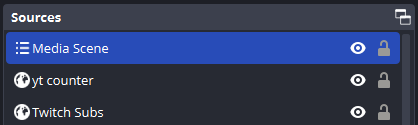
Add Scene – Add your “Media Scene” to another scene and place it at the top of your sources to make sure it doesn’t get obscured by your other sources.
Test – Give your triggers a test and they should now appear on all the scenes you have nested your new scene into.
Other Uses
Now you know how to make a nested scene, you can start to play with them. You can add Streamer.bot commands to the assets/sources within each scene or even edit the scene itself.
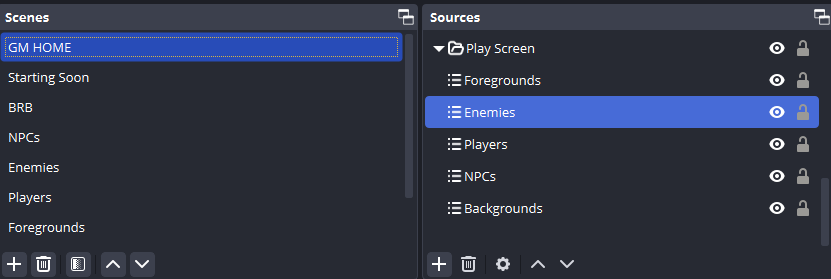
In our Tails of Equestria series, we took this a step further and had enemies, players, backgrounds and foregrounds in different scenes which were then nested inside a master “GM HOME” scene. You can also add filters and other effects to scenes or put them into groups to bulk edit.
Other OBS Tutorials