Do you look at the back end of your OBS in despair? Then never fear, the OBS Scene Tree Folder plug-in is here to save the day.
OBS Scene Tree
This handy plug-in is here to help you organise your scenes in OBS. The OBS Scene Tree Folder isn’t a necessary tool, but it’s easy to install and can save you a lot of work in the future.
Download Scene Tree
You can find everything you need to install this plug-in on GitHub. Linus users can also find the command console codes on this page.
Install Scene Tree (Windows)
Download the most recent WinZip package from here. Then unzip the files and drag the Scene Tree folders into your OBS program files folder. This is typically on your C: Drive in a similar location to this:
C:\Program Files\obs-studio.
There will likely be a prompt asking if you would like to made admin changes. Approve this by hitting continue.
Set Up Scene Tree
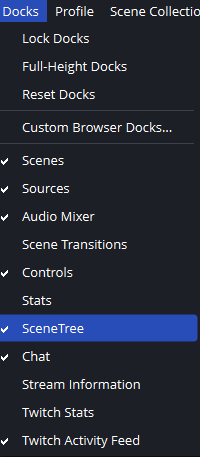
If you have been successful in the previous step, you will be able to find OBS Scene Tree in your “Docks” tab in top bar of your OBS. Once you add this to your OBS docks it will appear as a pop-out box or squish itself somewhere into your OBS layout.
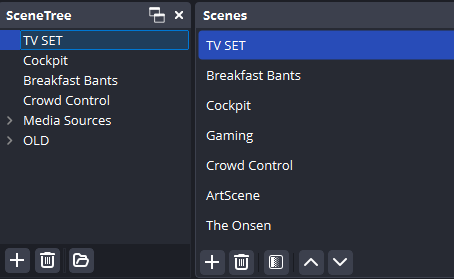
In this dock, you can use the “+” icon to add scenes and the folder icon to add folders. Simply drag the scenes you have made into the place you want them, and you are ready for action.
Final Thoughts
OBS Scene Tree Folders is a plug-in we’ve been longing for without even realising it. After discovering this handy OBS tool, we’ve used it to tidy up a lot of our set ups. Although, be sure to install the plug-in again if you ever export your scenes.
Other Tutorials
Looking to level up your content even more? Then why not check out our other tutorials.