The OBS User-Defined Shader is a powerful tool that can be used to initiate all kinds of visual effects with a single filter. These filters can be used in lots of different ways and was used in our recent Tails of Equestria series to make some interesting and low effort animations.
Install The Plug-In
You can find the User-Defined Shader Plugin on the OBS Project website and GitHub.
Download the plug-in files from the website and run the installer. Then open OBS to begin using the filter.
Add The Filter
You can add User-Defined Shaders to scenes, sources and groups, giving them a lot of utility. Each shader then has a different set of filter attributes and settings which allow you to better customise them to your tastes.
Select your scene, source or group and open the filters menu. Typically the User-Defined shader will be at the bottom of your filters options.
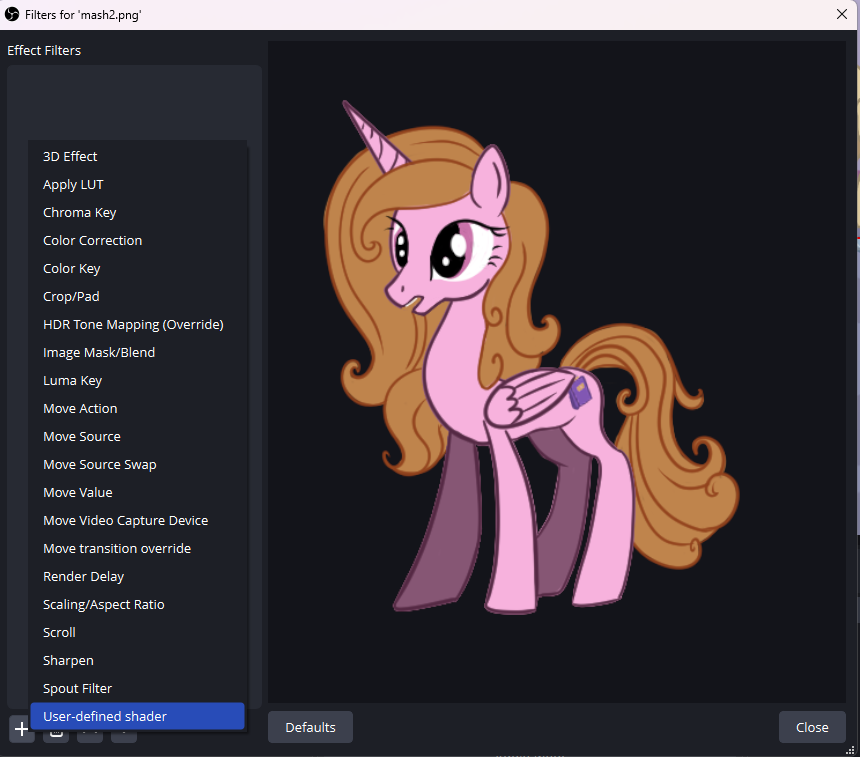

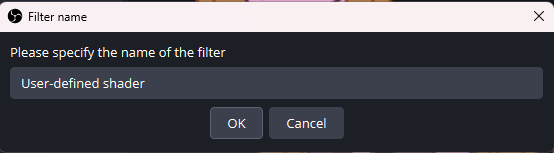
Click to add the filter and fill in the prompt to change the name if you wish. This will add the filter to your source.
Experiment!!!
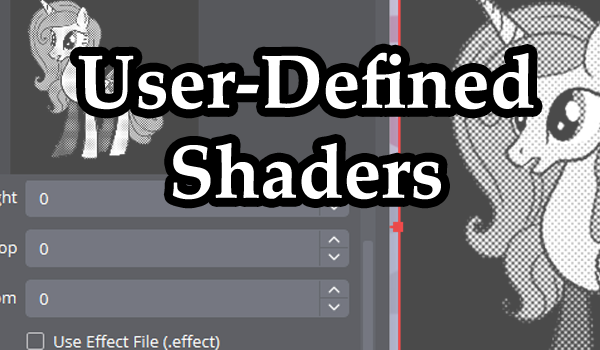
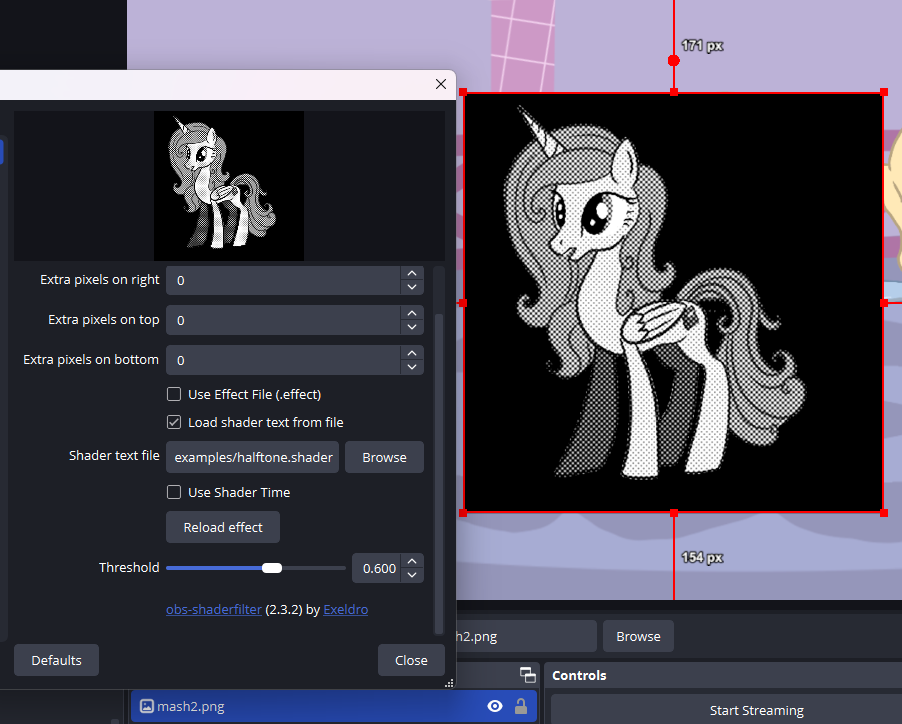
Now you have access to the User-Defined Shader you can take a look at it’s various settings… and there’s a lot of them.
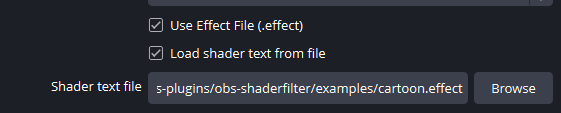
Click “Load shader text from file” to import pre-set shaders and have fun experimenting with the various shaders and settings. You can achieve a lot with just one shader, but can also combine them with others for really cool effects.
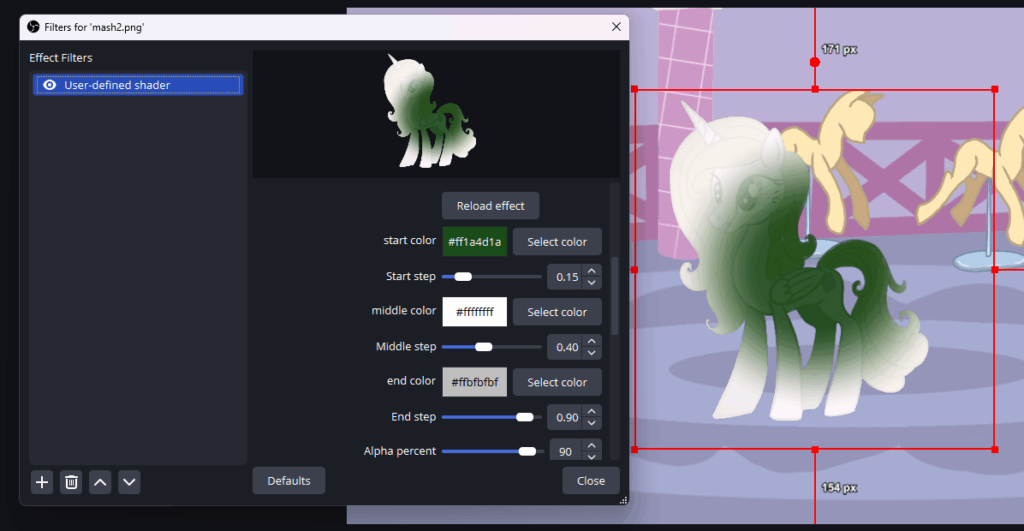
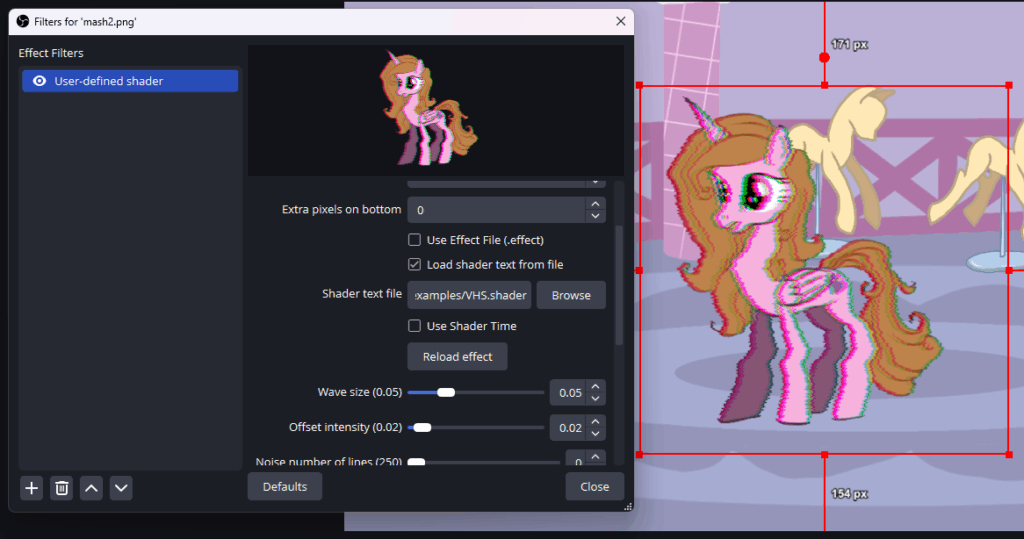
As you can see from these examples, each effect has a slightly different menu with controls for each of the shaders’ variables. This gives you a lot of control over how the shaders affect your scenes, but it’s worth experimenting to see what each of them do.
You can find a pretty comprehensive list of shaders on the OBS Project website.
Grab the User-Defined Shader, have fun, and level up your streams today!
Other Tutorials